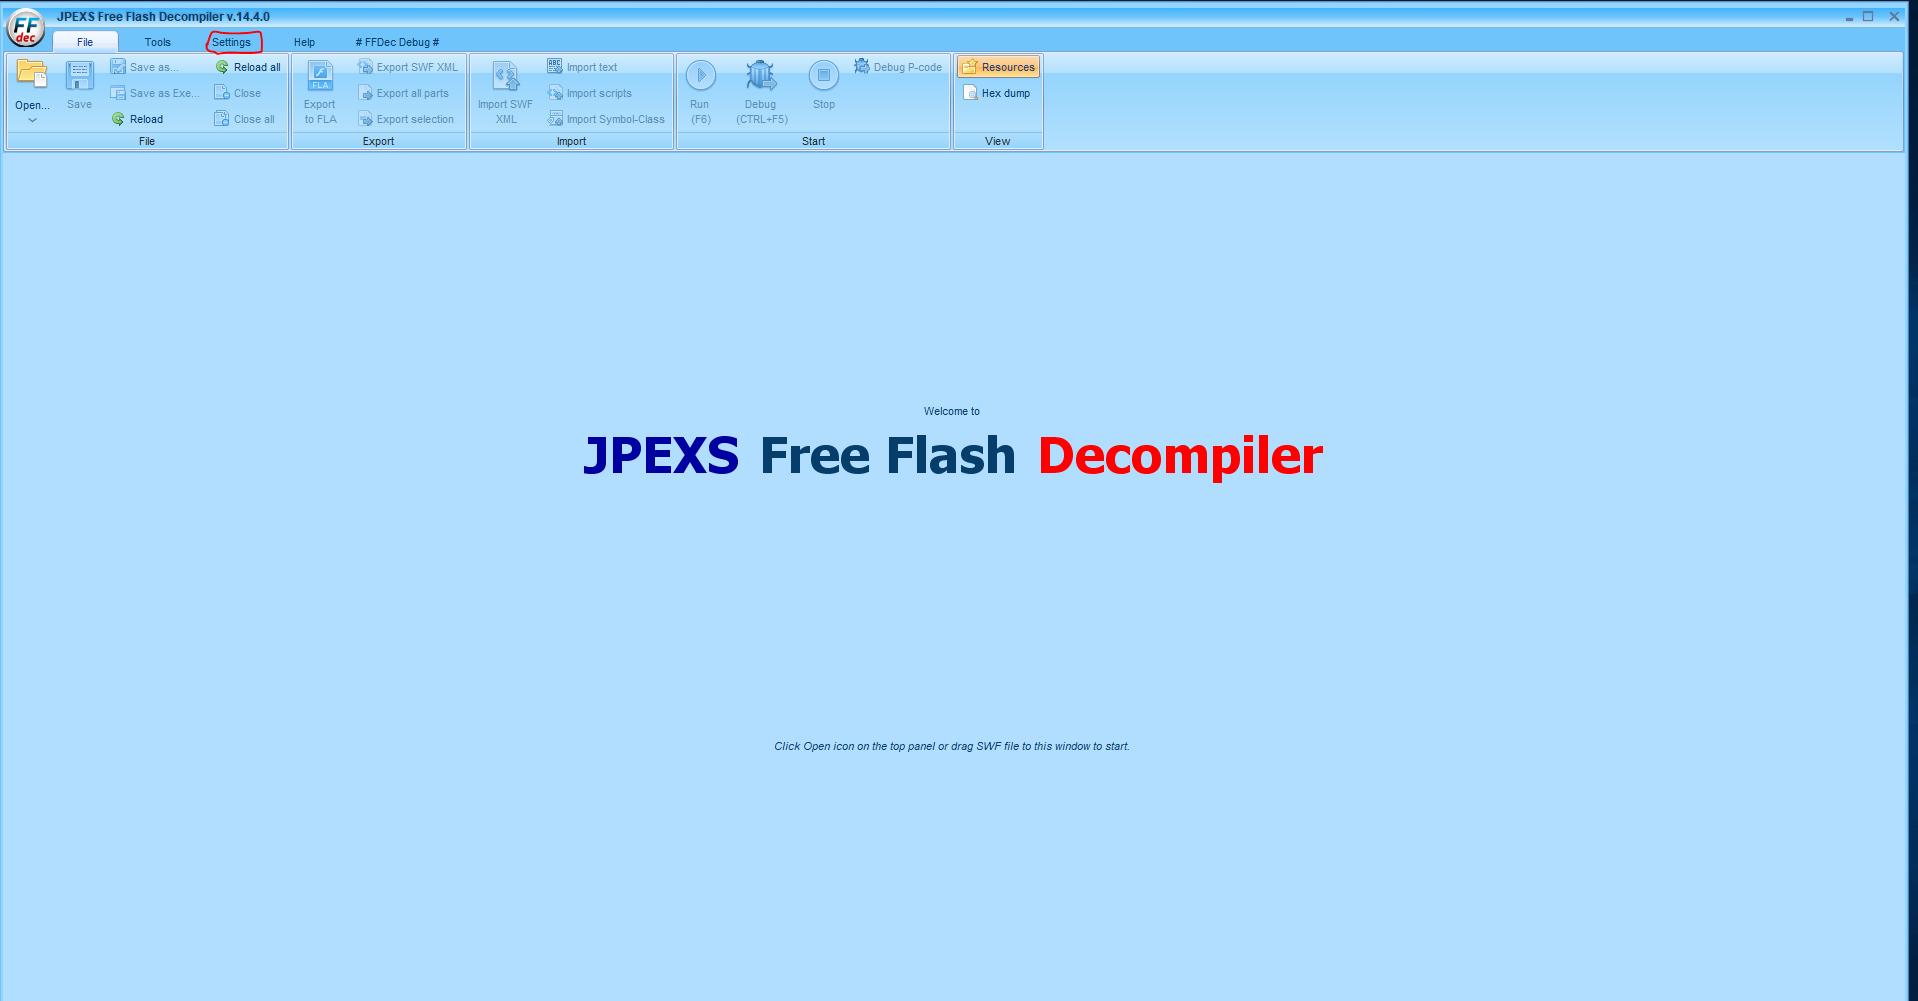
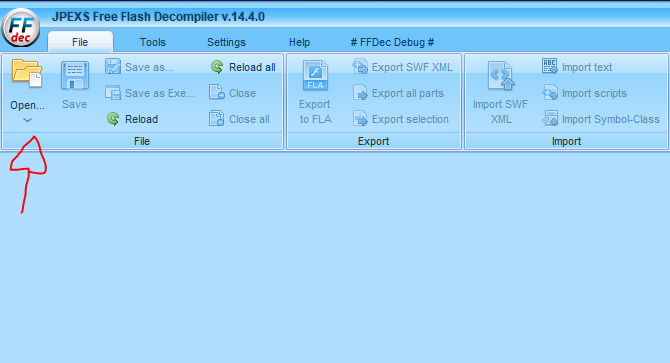
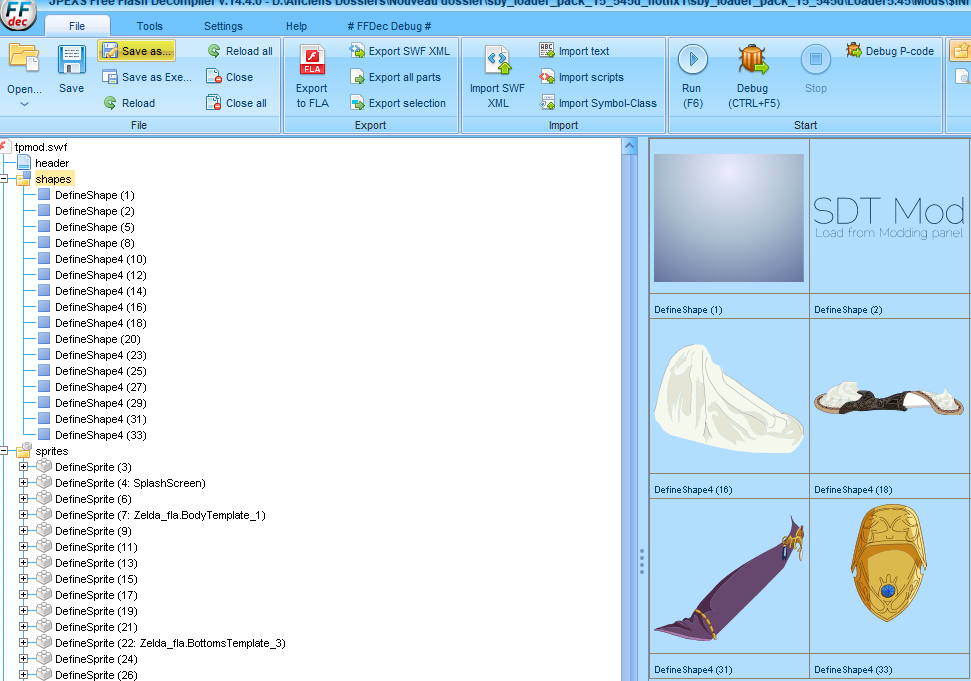
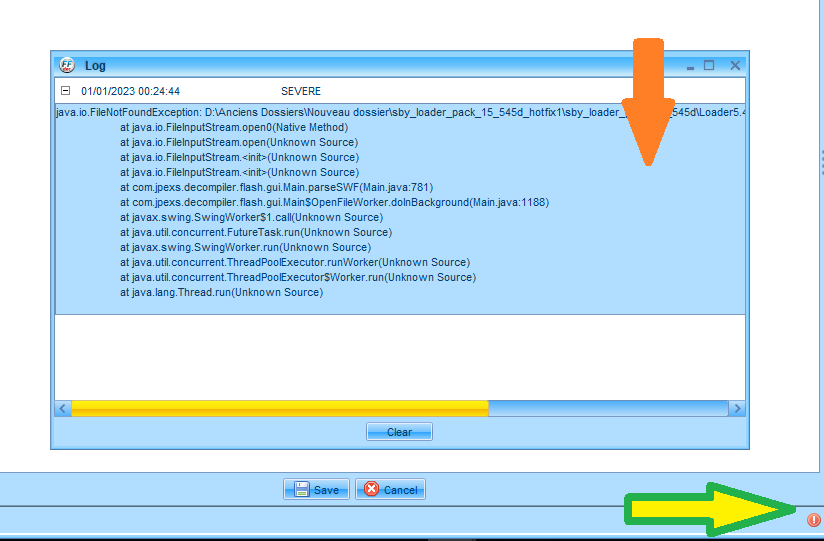
Open a file.
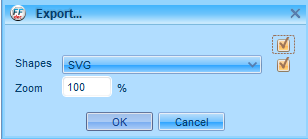
Click on the button at the up left window(
red arrow) or drag&drop your file into the software.
The software can read file with mod extension but not modify it, in this case replace the extension by swf.
For the exemple I will use the
Zelda TP Costume by
 dantethedarkprince
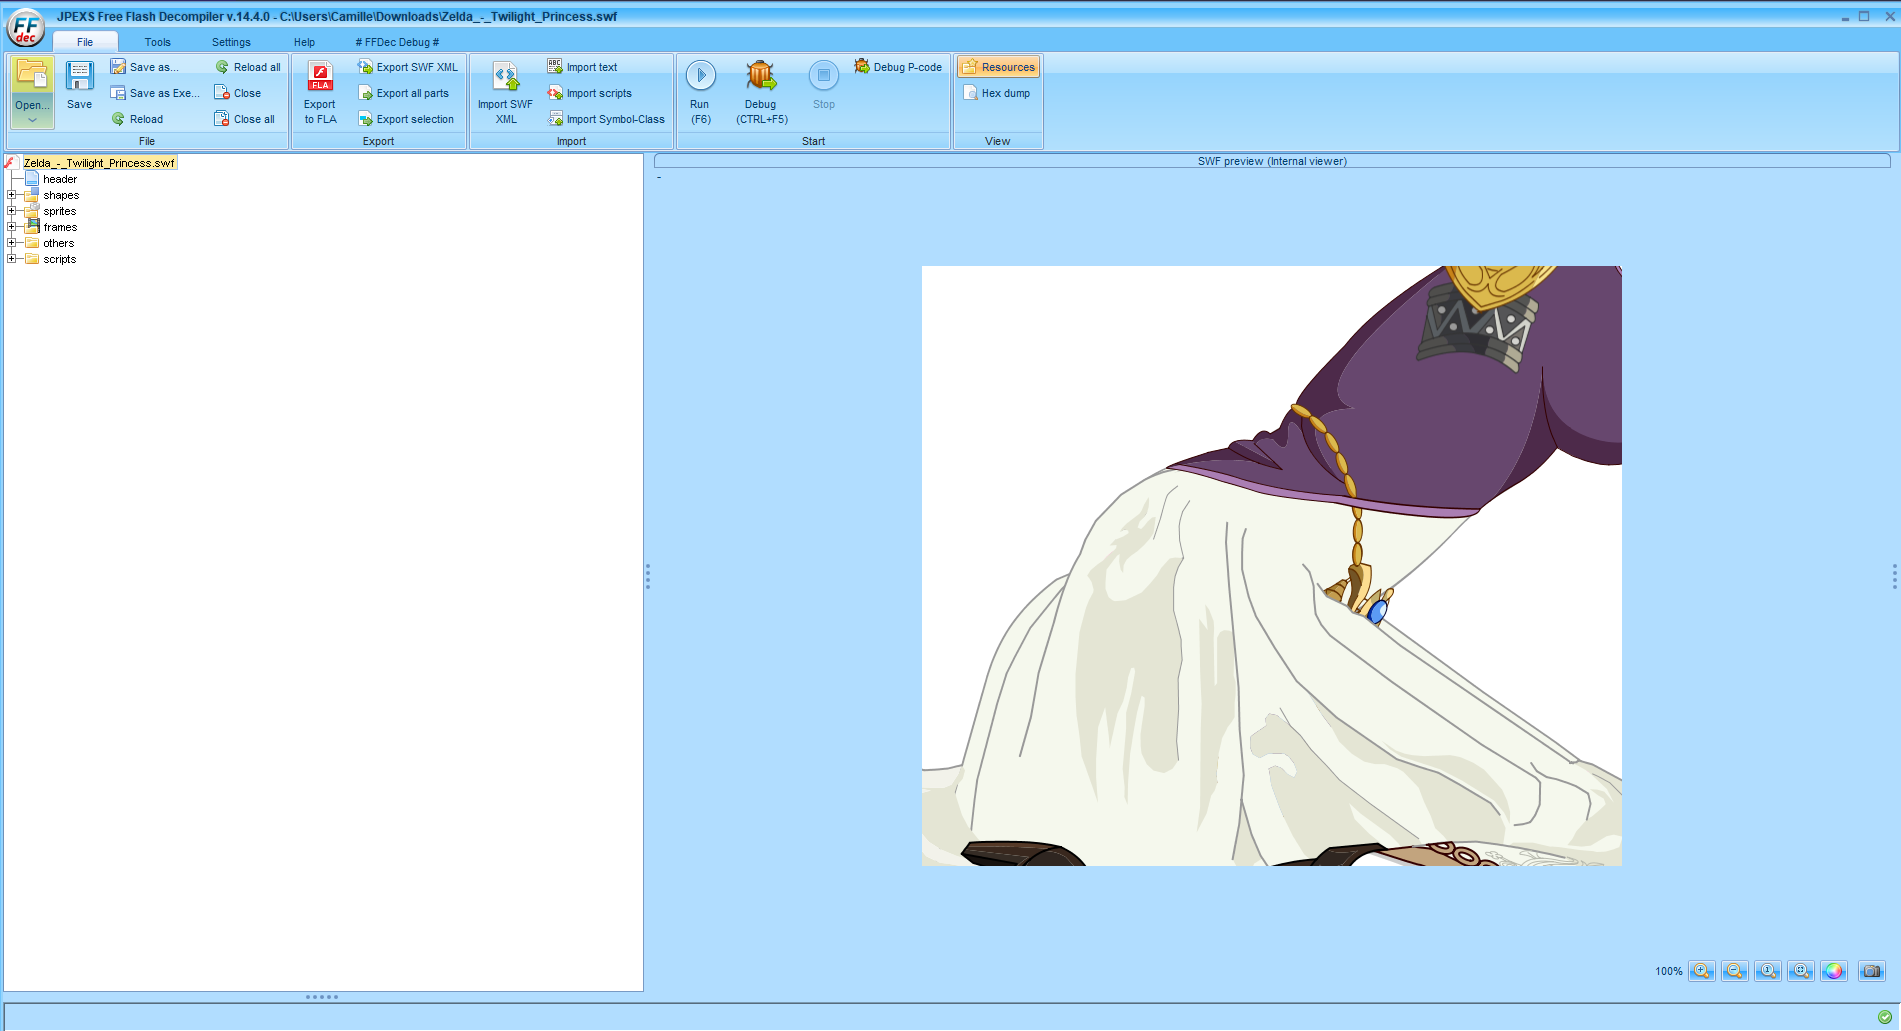
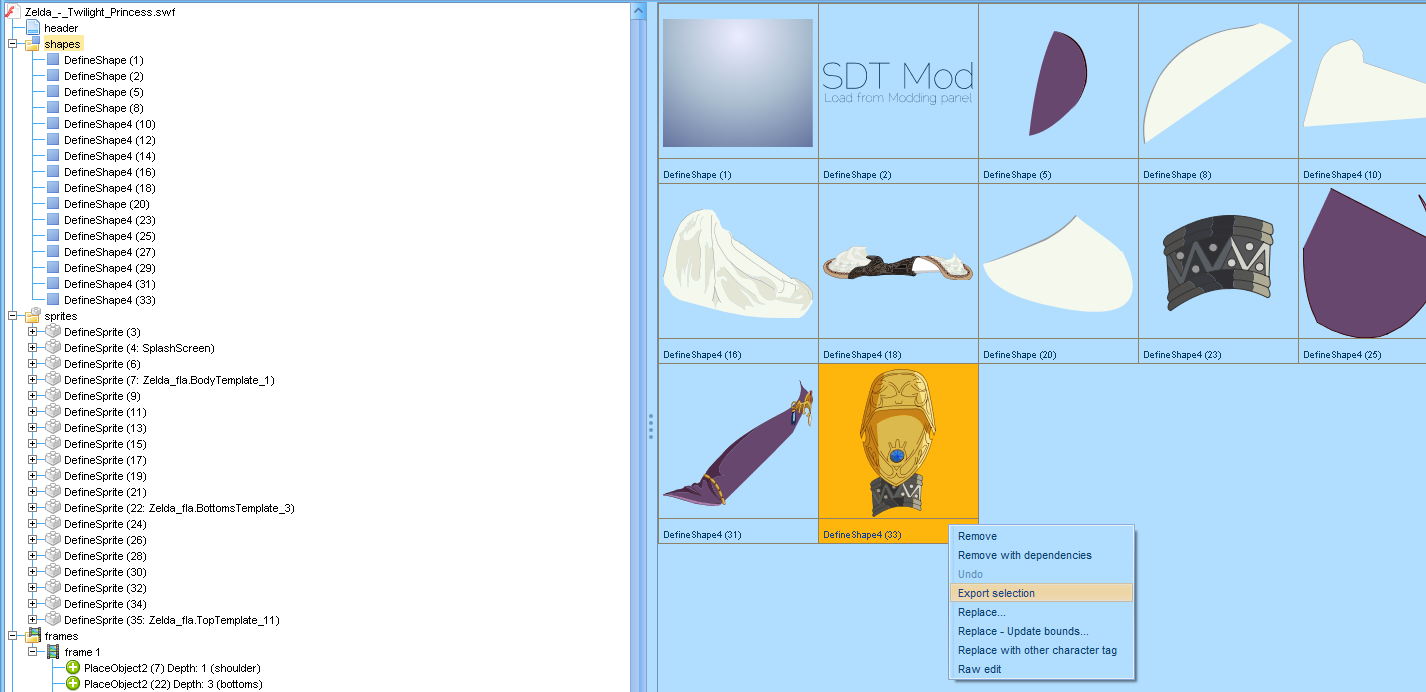
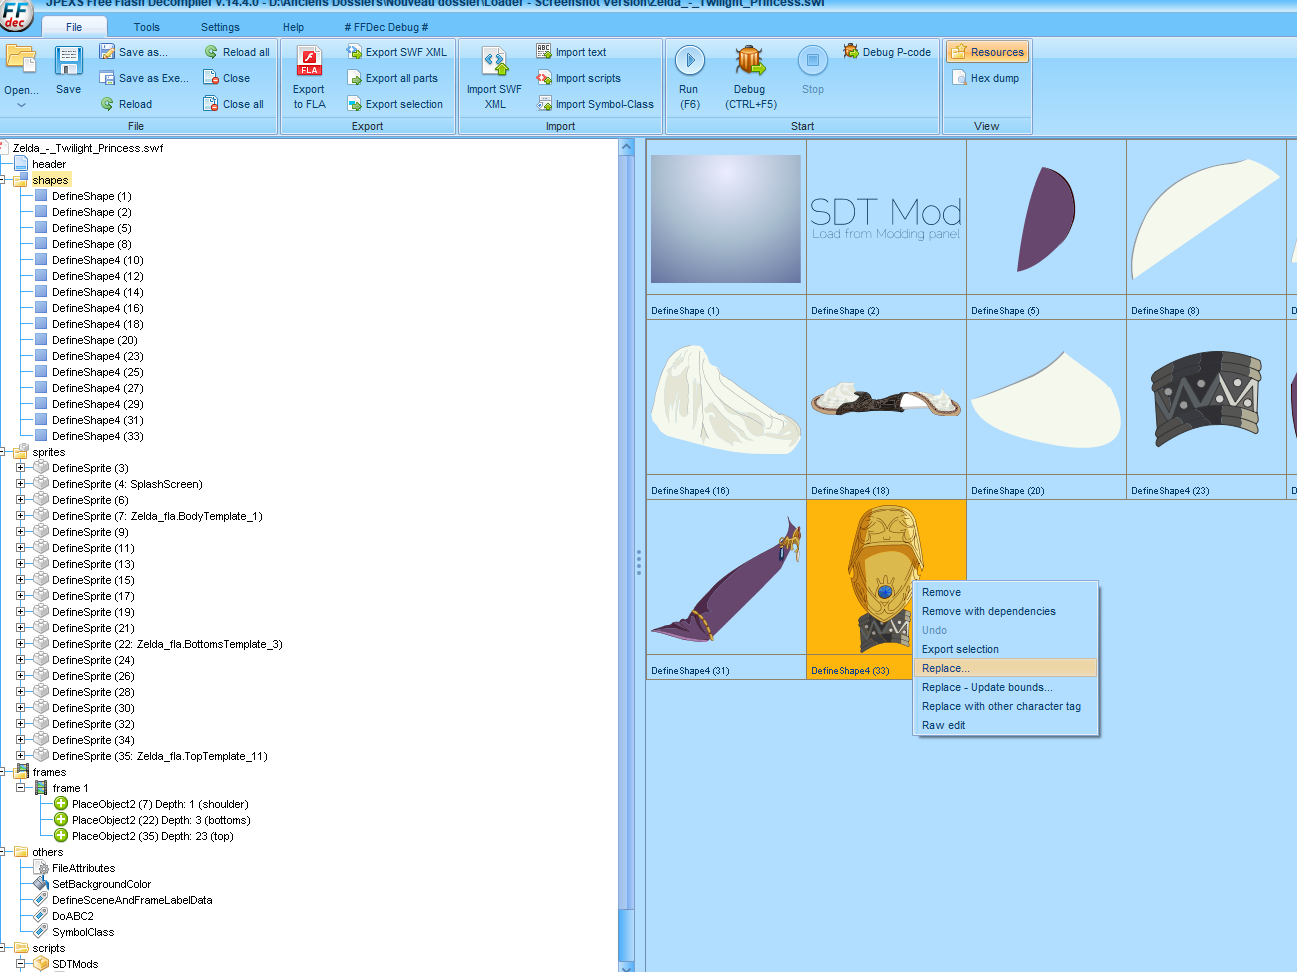
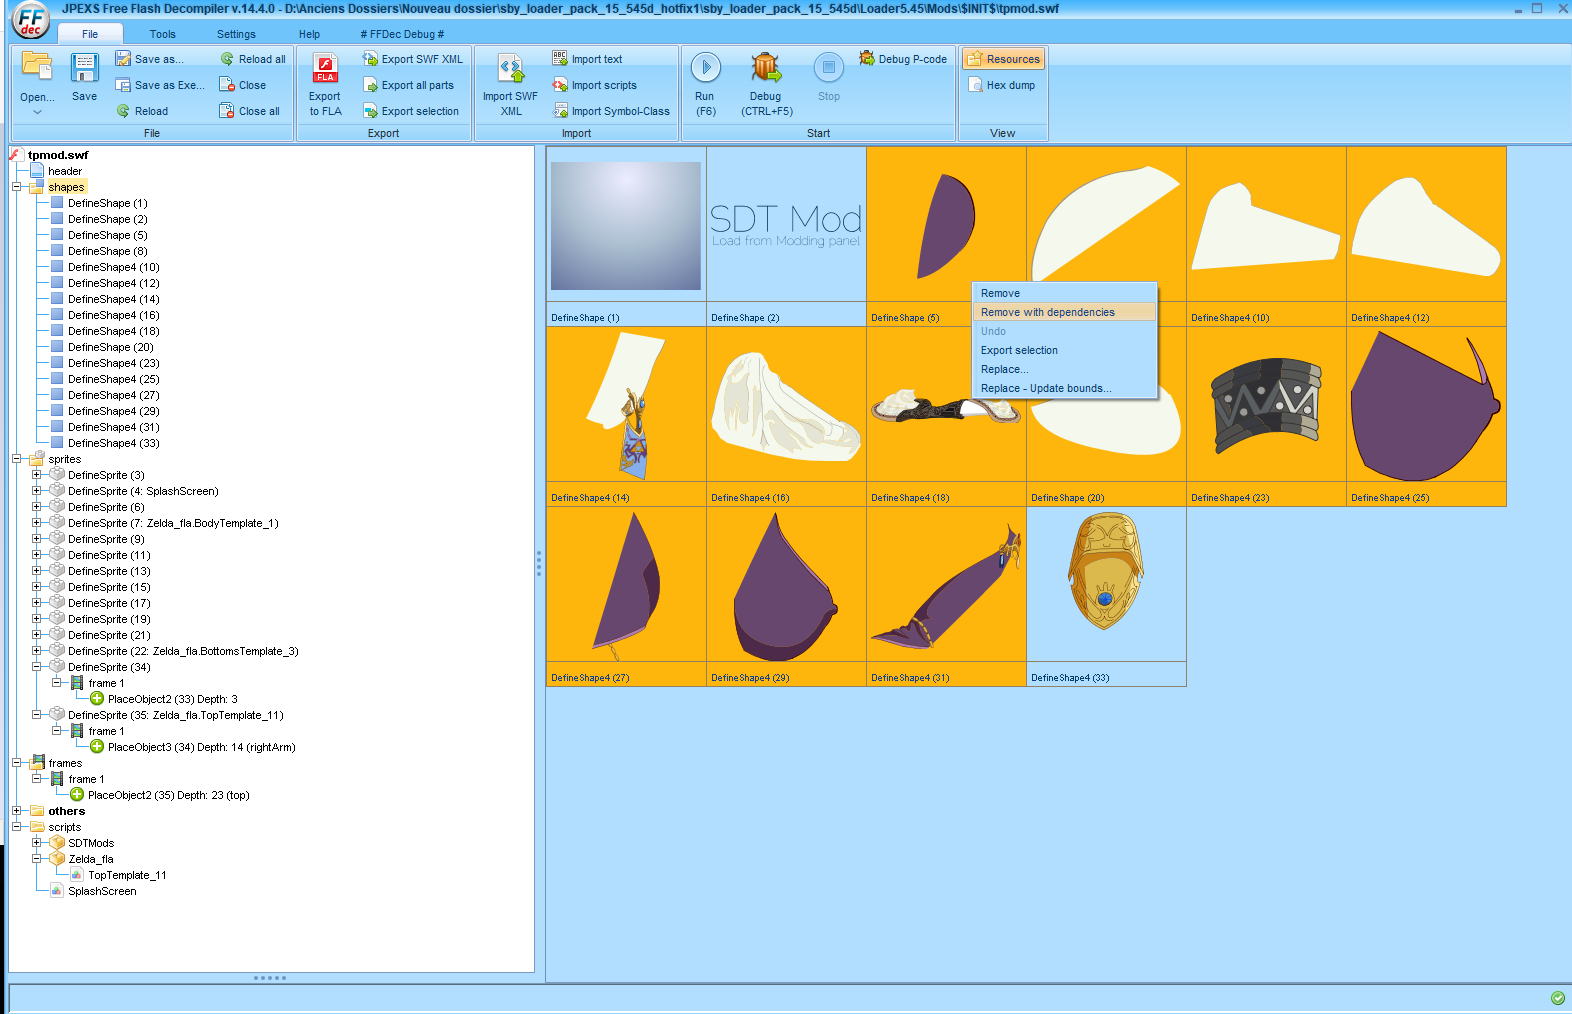
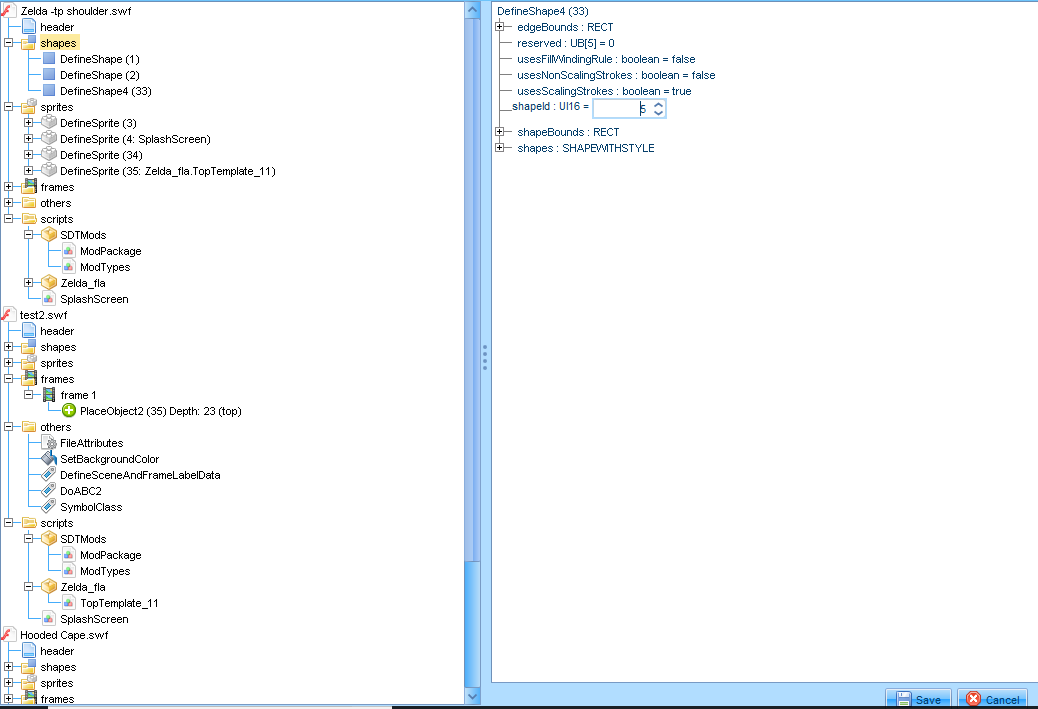
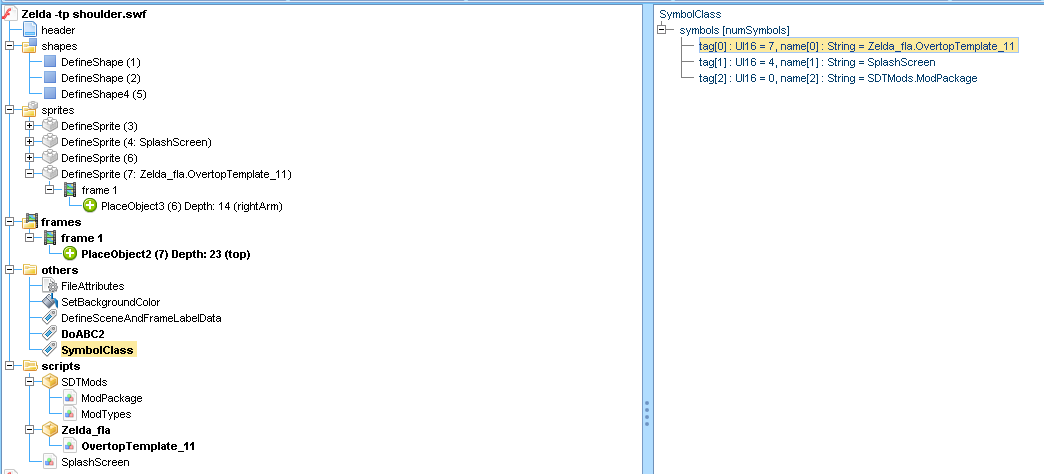
What you will have when you open the file.
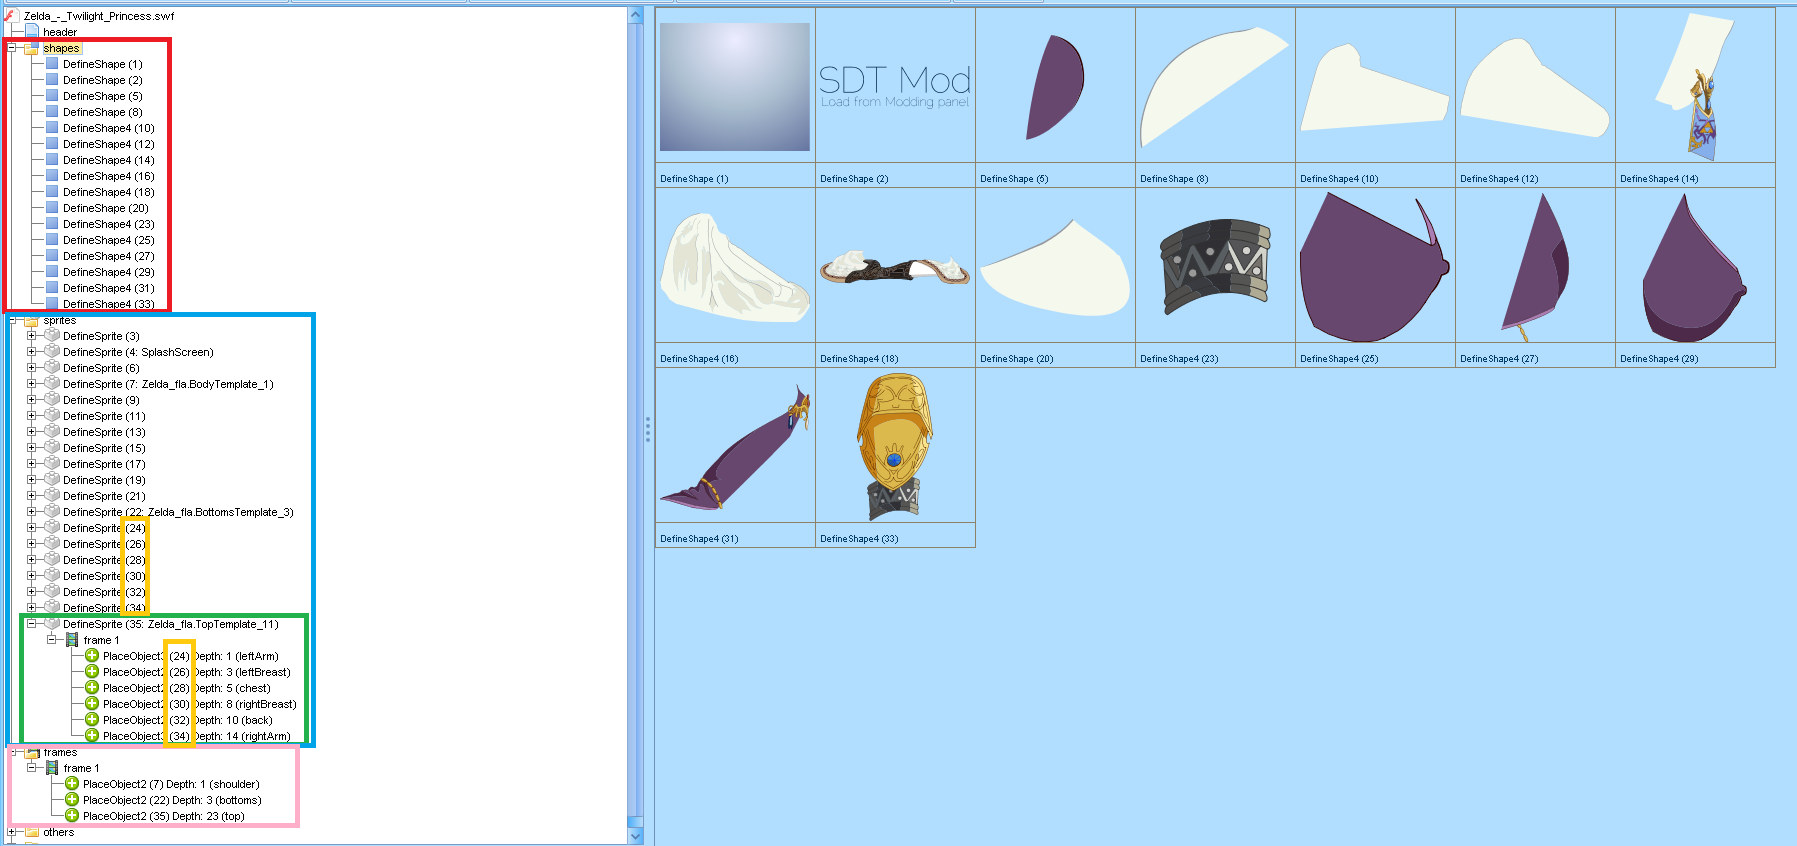
In this picture, we are in the
shapes folders.
This folder (
red square) contains graphic art like svg, bitmap, it's important for many mods but some mods don't need it like an audio mod.
you can see numbers into brackets, it's
shapeId.
In the right you can see all items in the folder, you can click to navigate into those items.
The
sprites folder (
blue square) contains
sprites, they use
shapes or others
sprites.
numbers into brackets are
spriteId.
The
frames folder(
pink square) define what is display on games by using
sprites.
numbers into brackets are the characterId, they will bound with the
spriteId.
In the picture, you can see (35) so it's bind with the sprite 35 (look at the
green square)
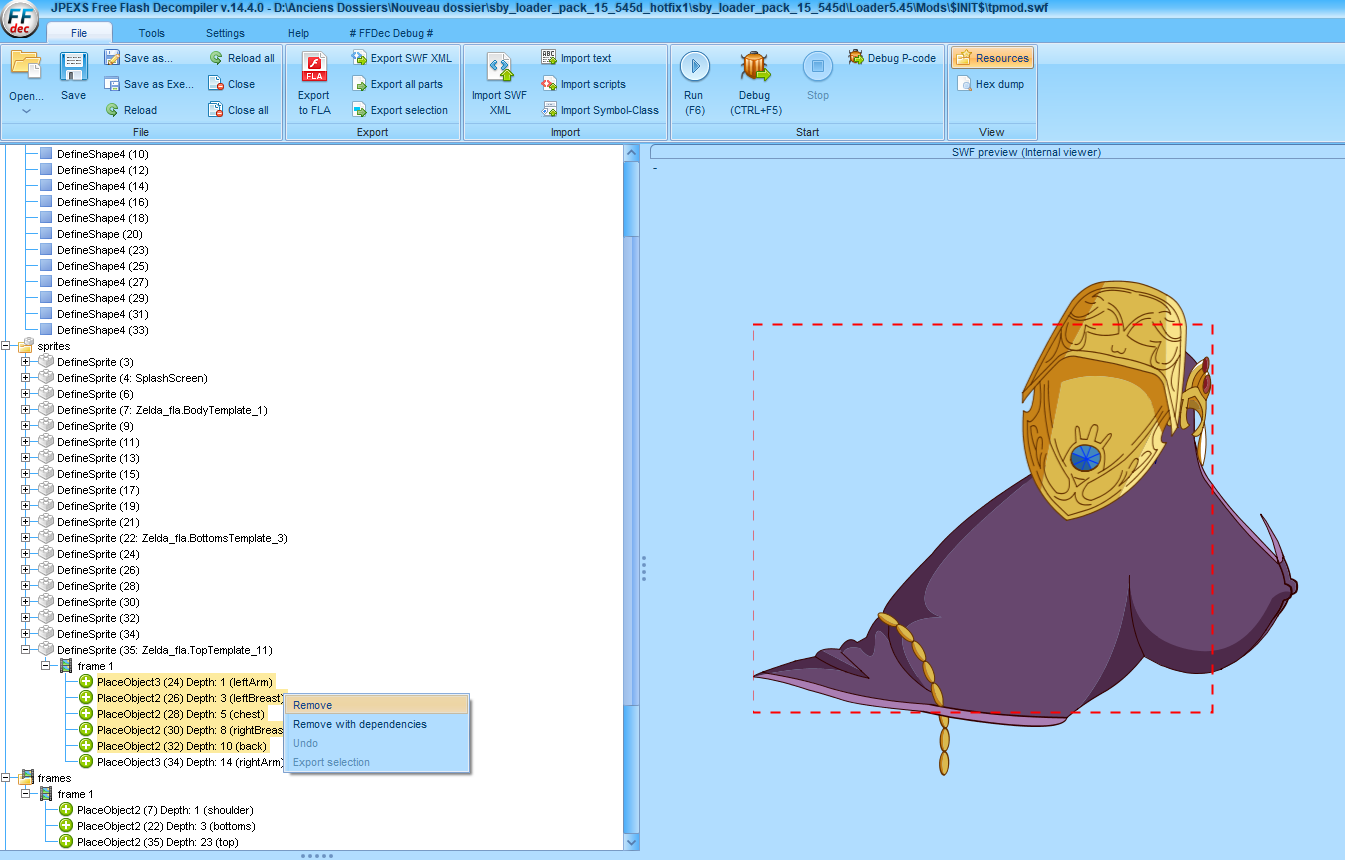
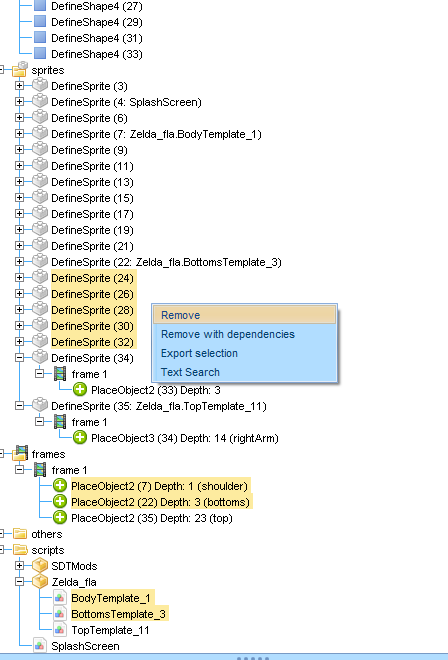
The
green square is the final sprite of the costumeTop.
This
sprite contains others
sprites define by characterId, they will bound with the
spriteId.(
orange squares)
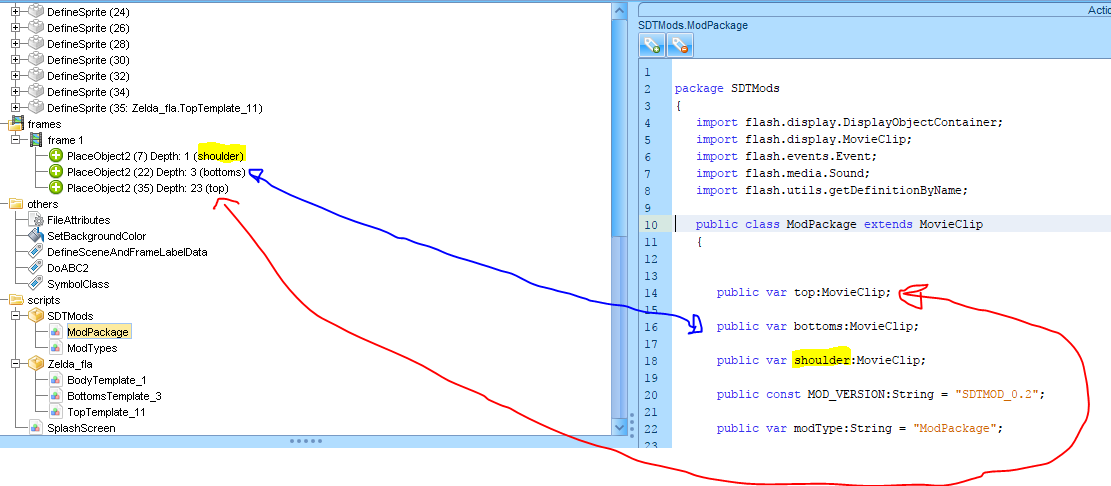
The names into brackets define modpieces
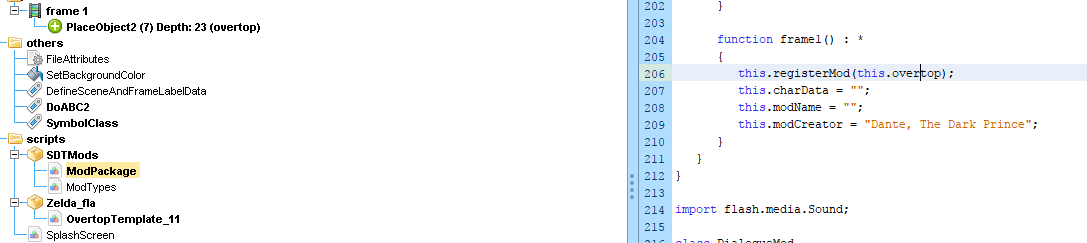
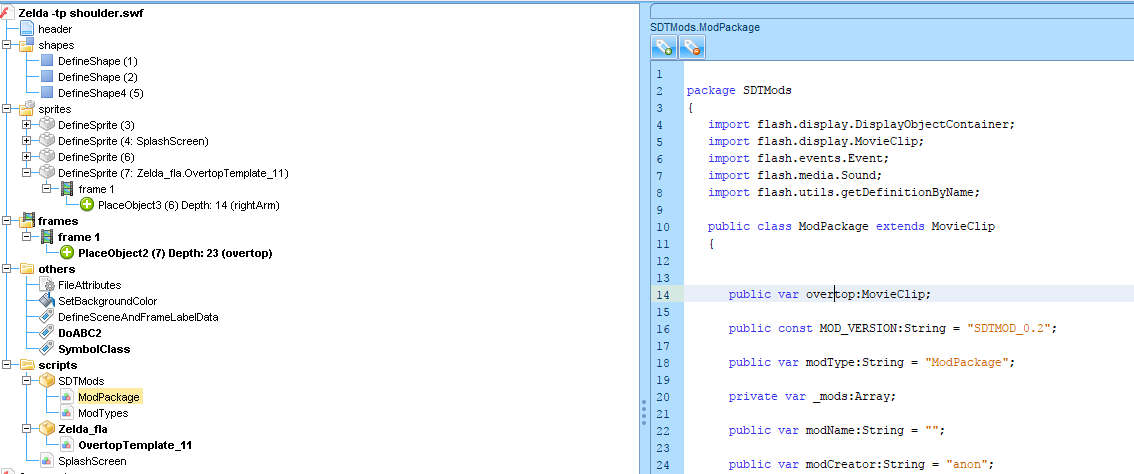
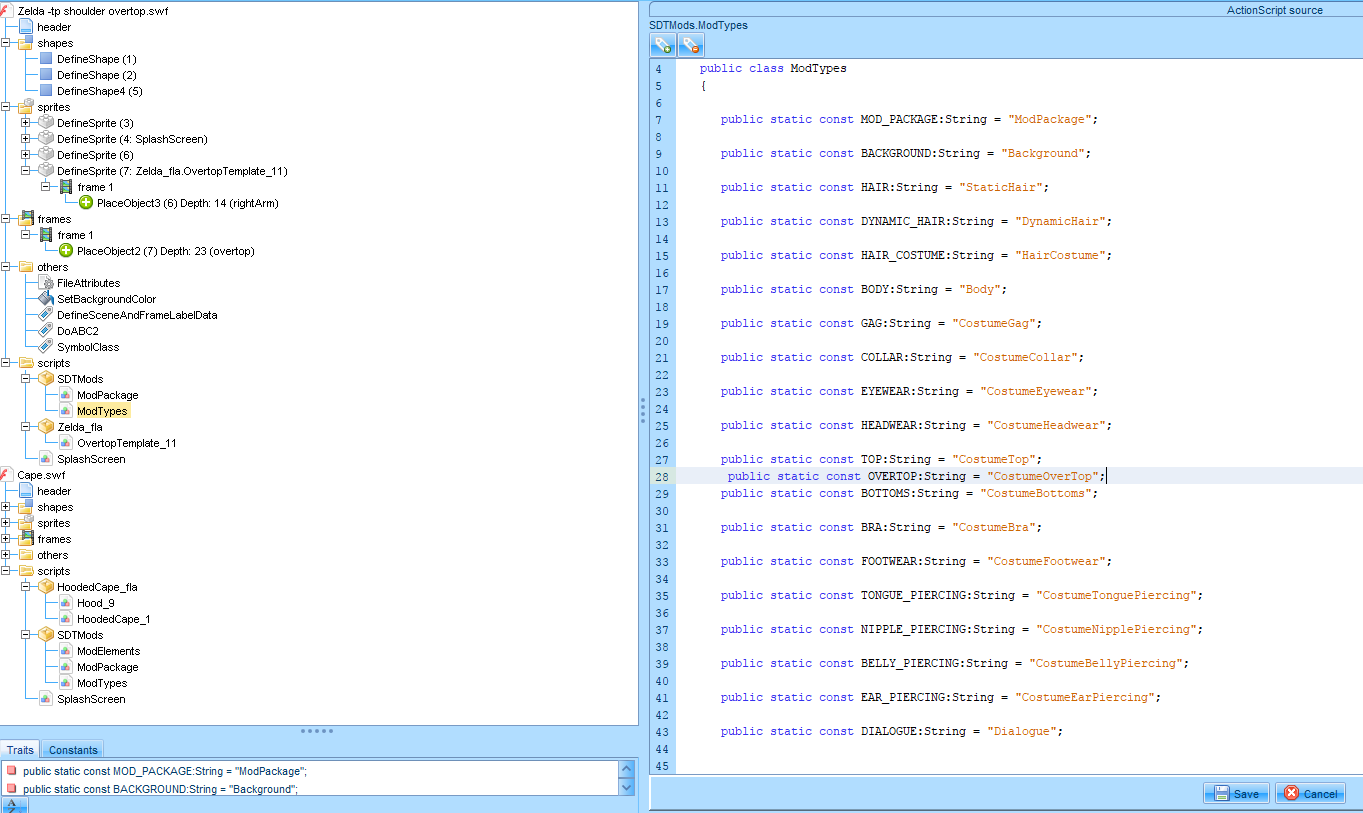
In the Modpackage of the scripts folder
You need to declare MovieClip with the name of Object in your frame.
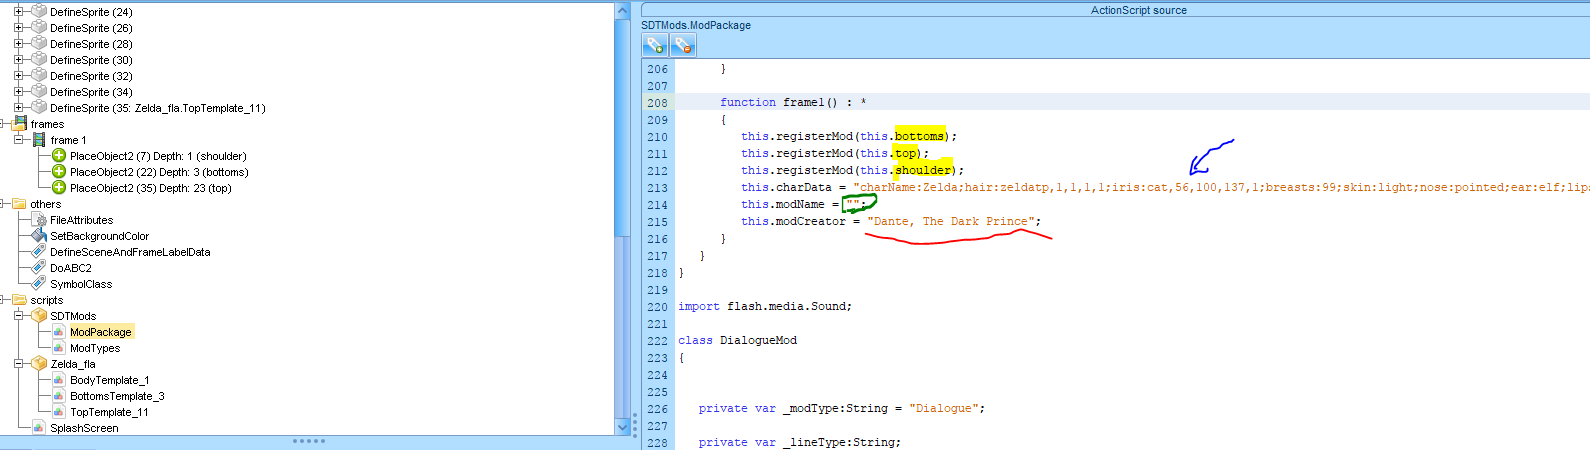
Always in the modpackage
You will find a function name frame1() .
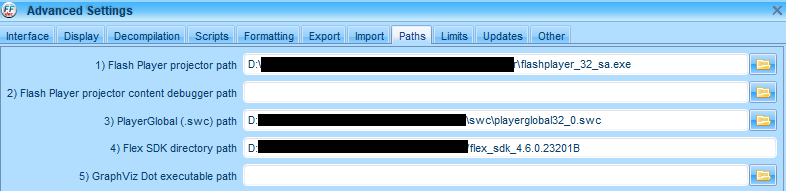
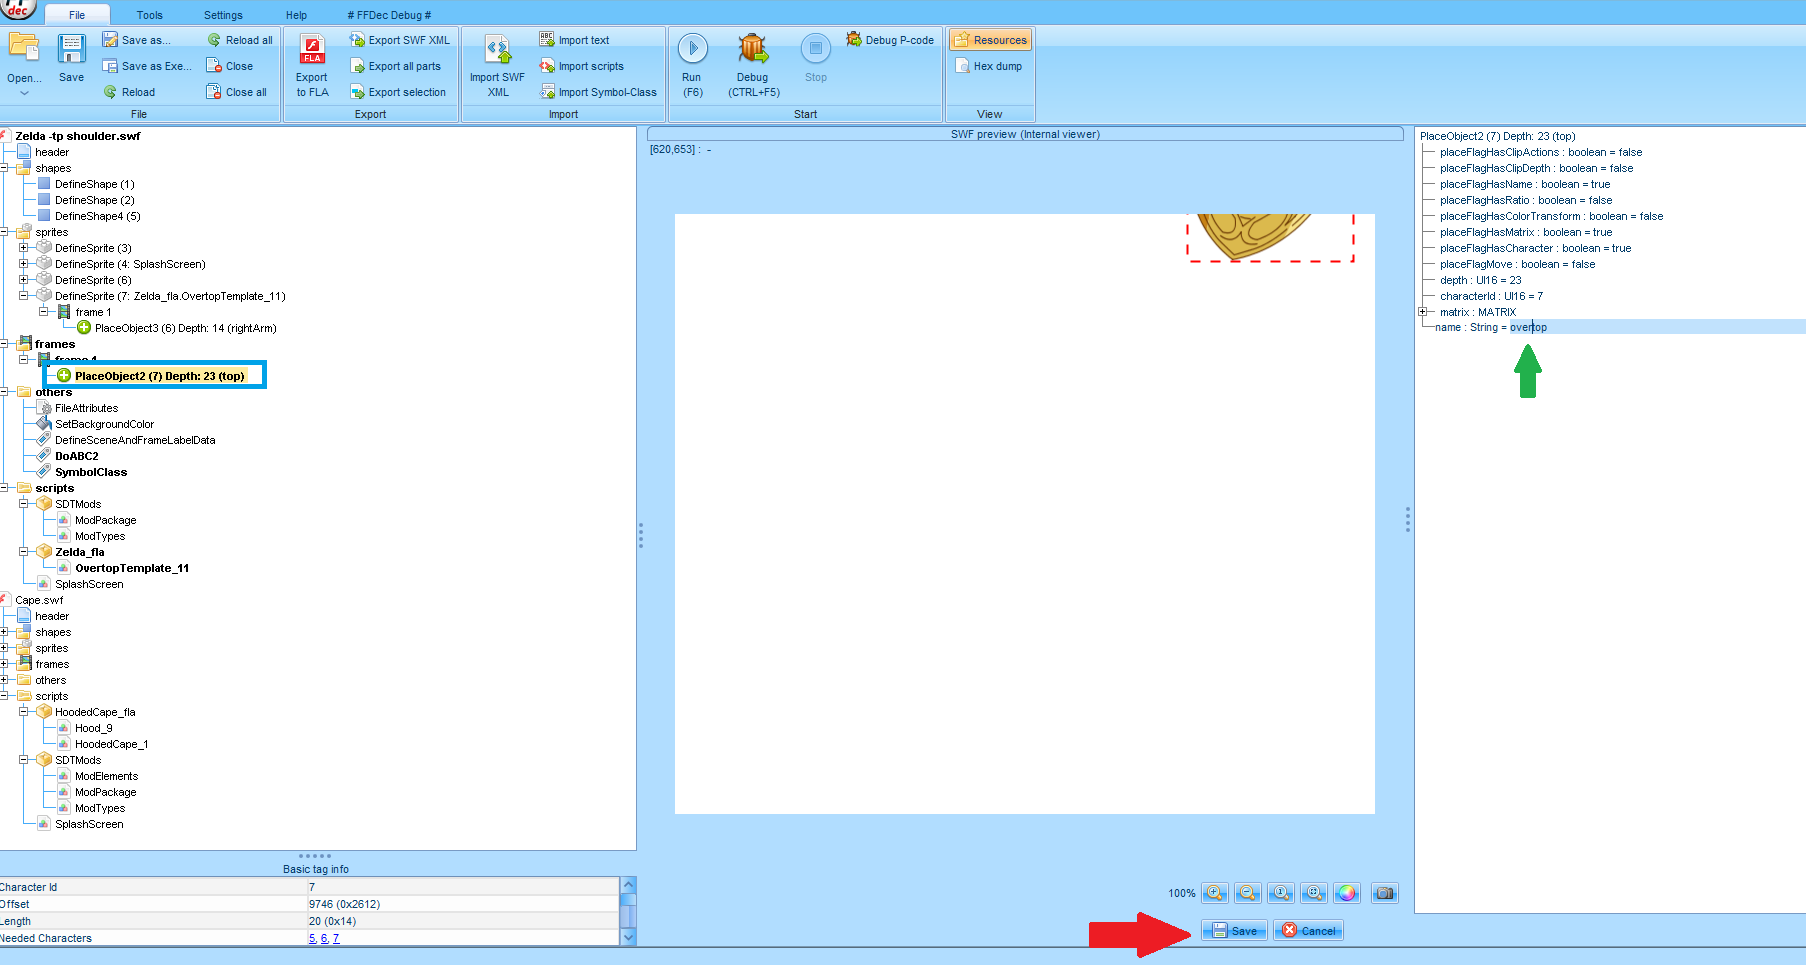
The modCreator is usualy use to determine the artist, type your name like "Rokphenix" (
red underline)
modName define the name display in sdt menu list in vanilla (mc settings can change that). by default, it's the name of the file. (
green circle)
charData is the charcode in the file. type "" if you don't want charcode. (
blue arrow)
The most important : this.registerMod(this
.Movieclip) define what is load in the game.
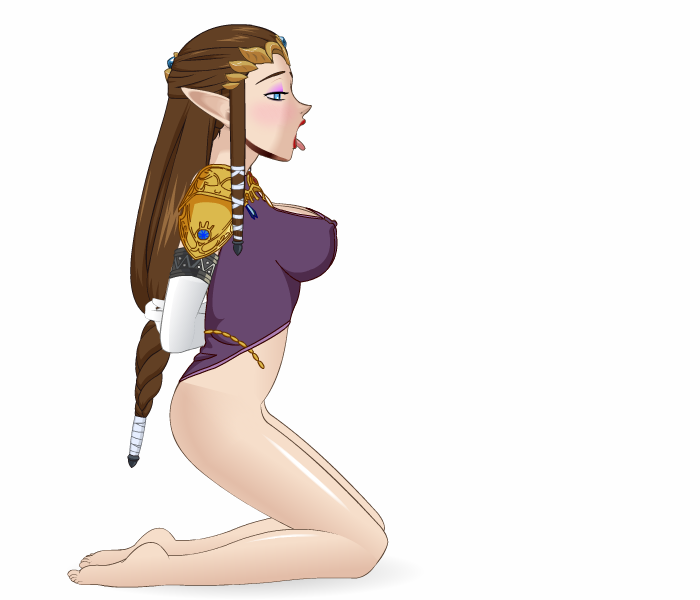
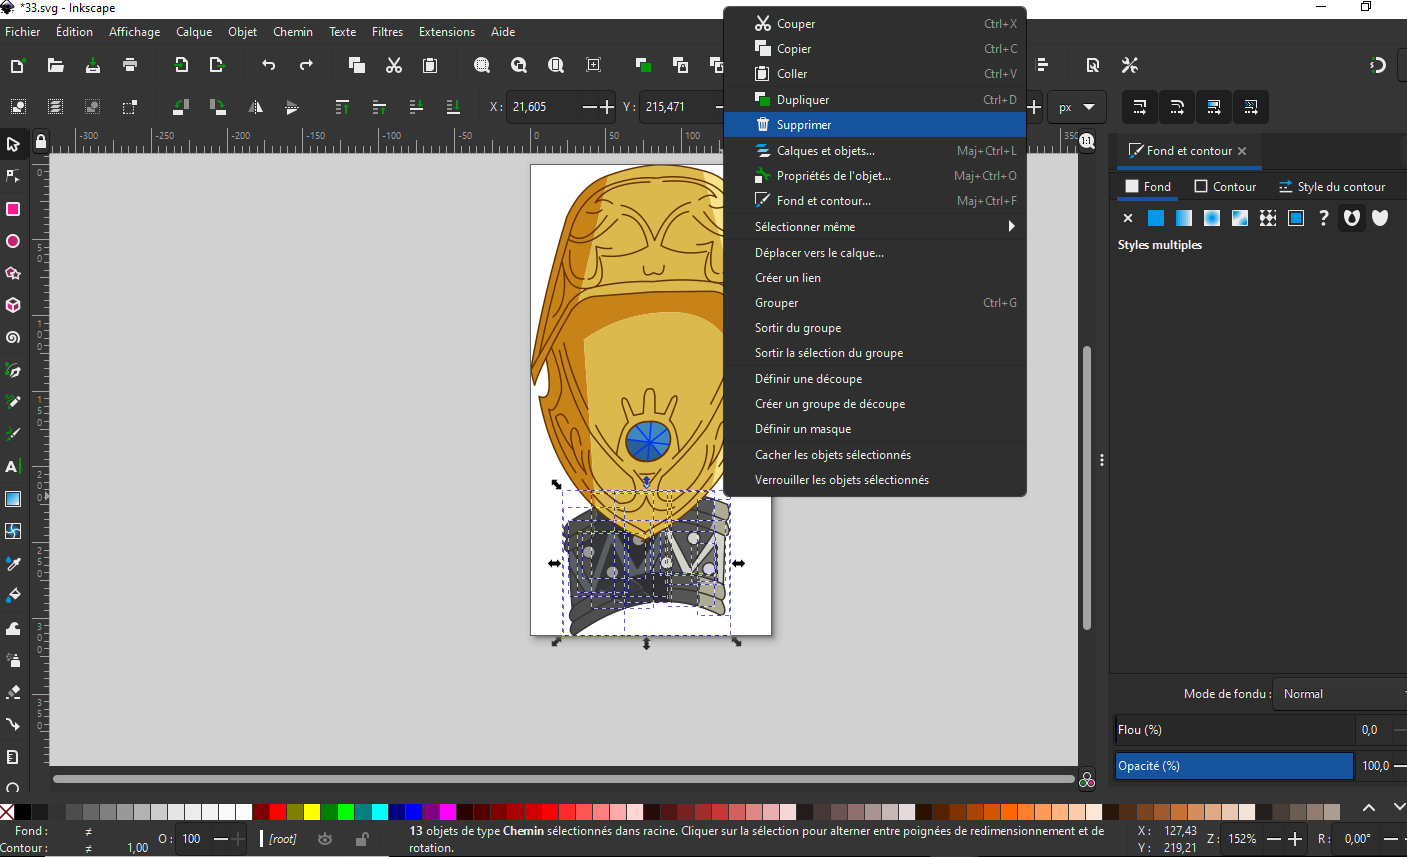
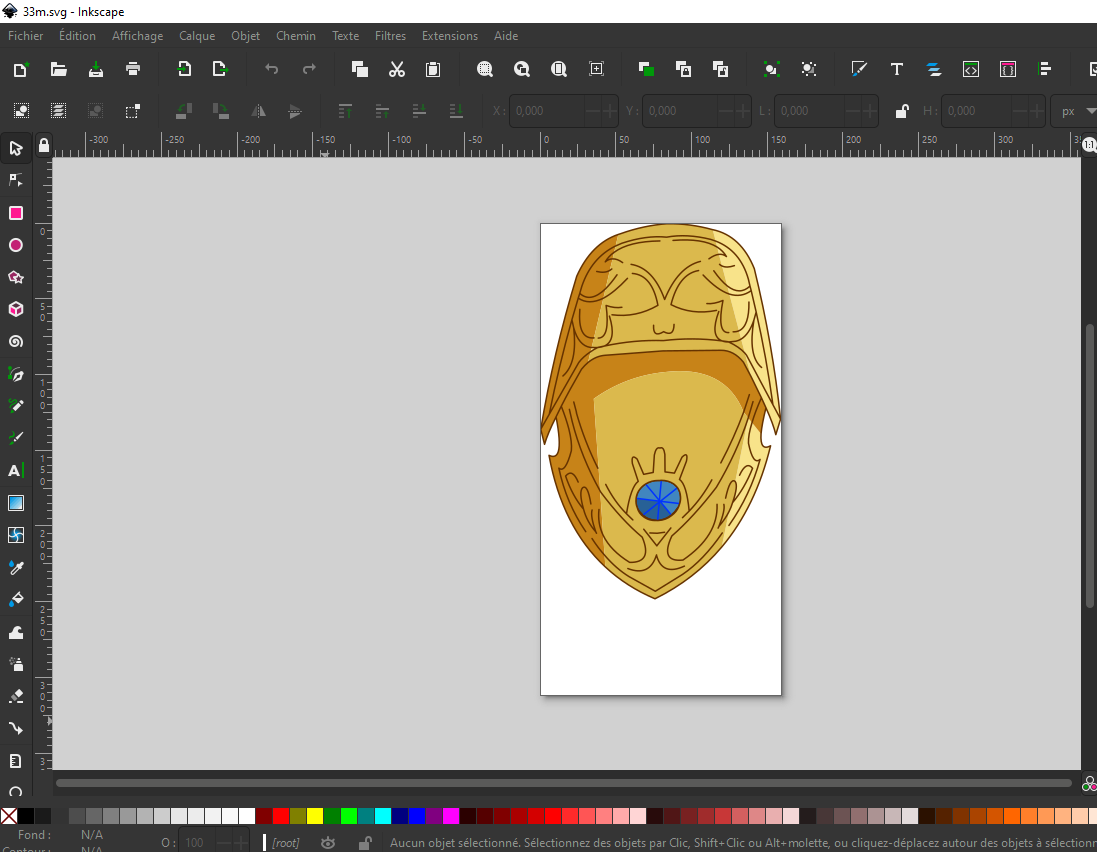
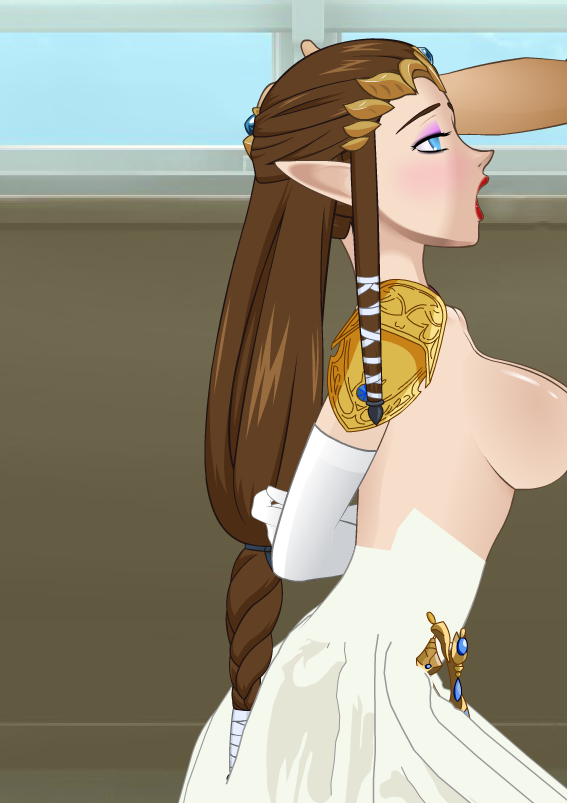
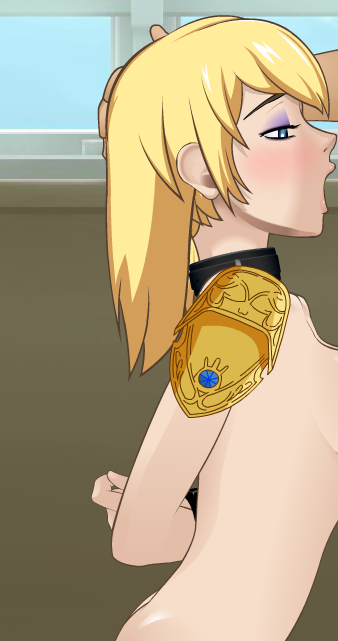
Exemple : if i delete this.registerMod(this
.bottoms).
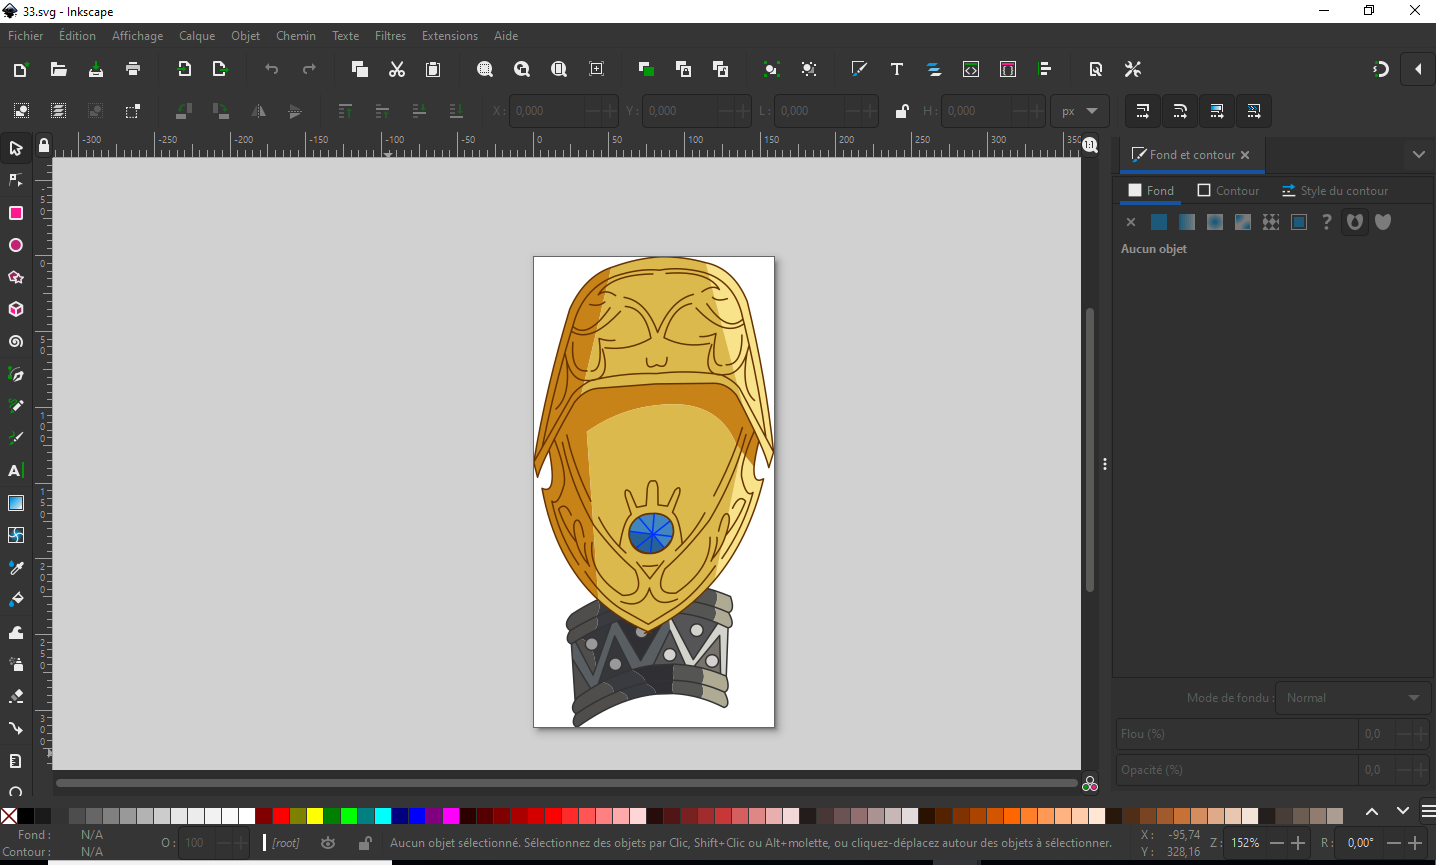
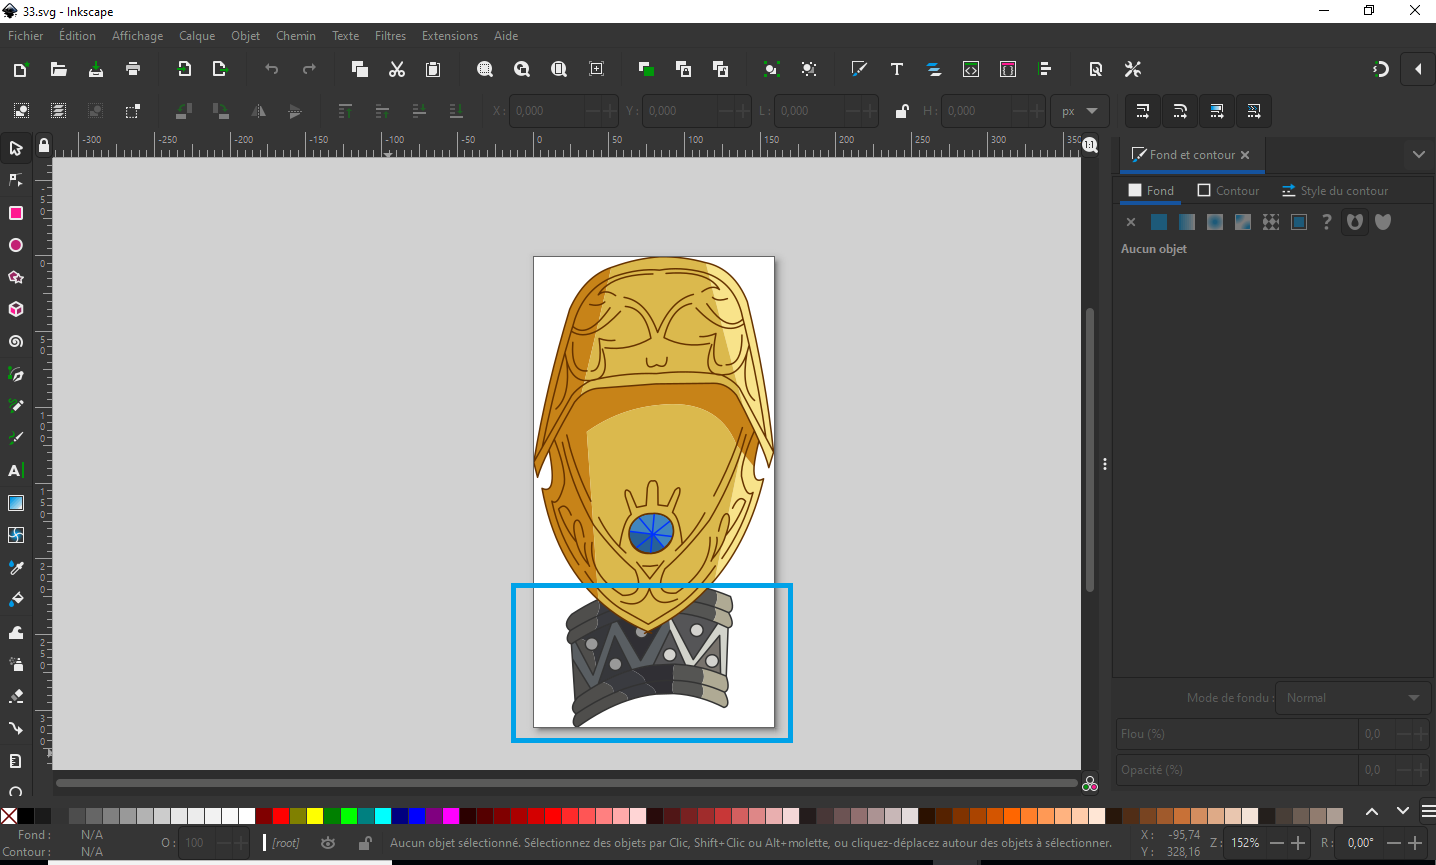
I will have this result when i load the file iG.
Because the
bottoms movieClip is associate with the frame with the same name.
It's the sprites which was deleted.
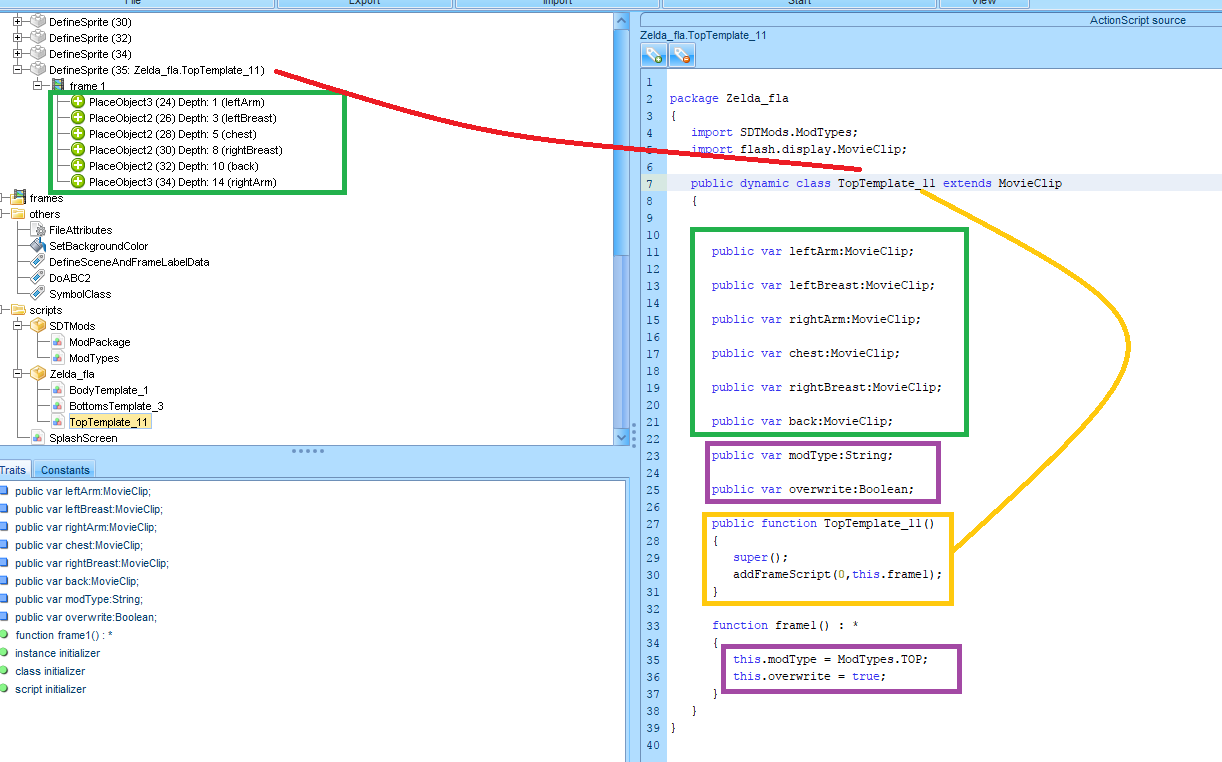
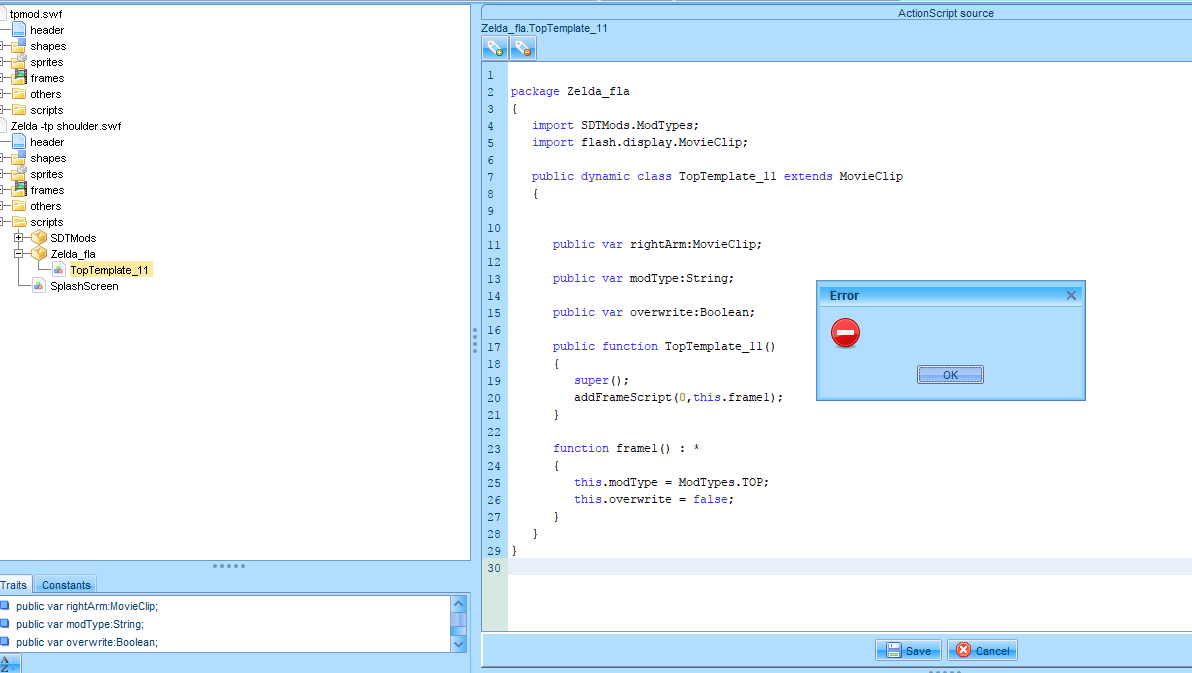
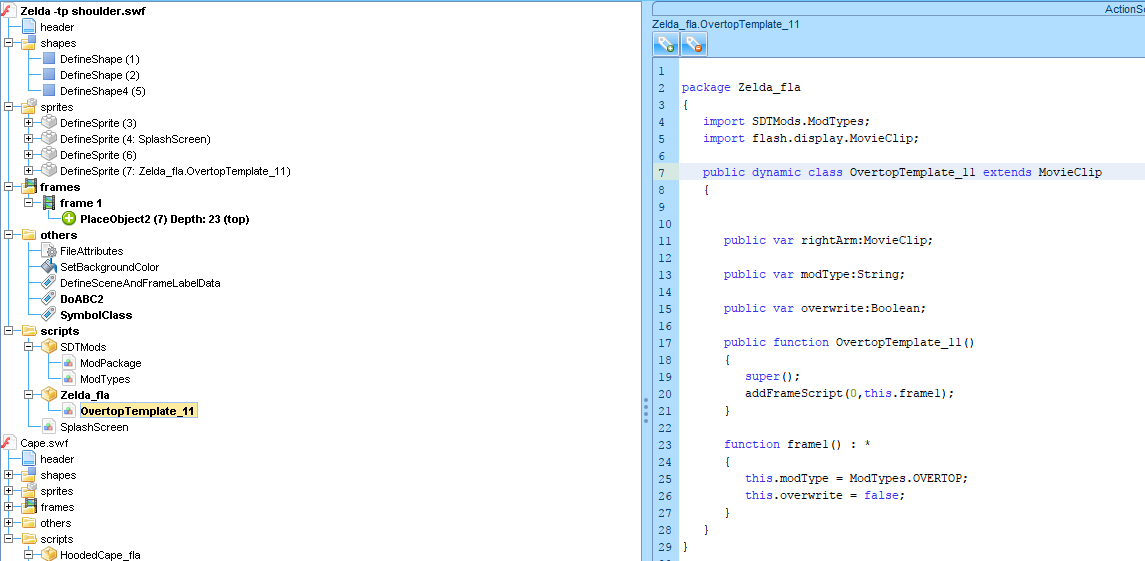
In the class TopTemplate_11
Declare the modpieces in your
sprite (
green square) as MovieClip
Use a function with the name class with addFramescript() like the
yellow square.
Declare others variables, these variable can be use in the function frame() (
purple square)
this.modType determine the modType
this.overwrite is a boolean which determine if when you load the mod, if the mod overwrite the modtype or
stack with the previous.
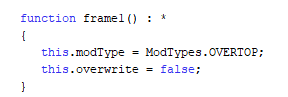
you can modify modtype but it's better the new modtype share modpieces.
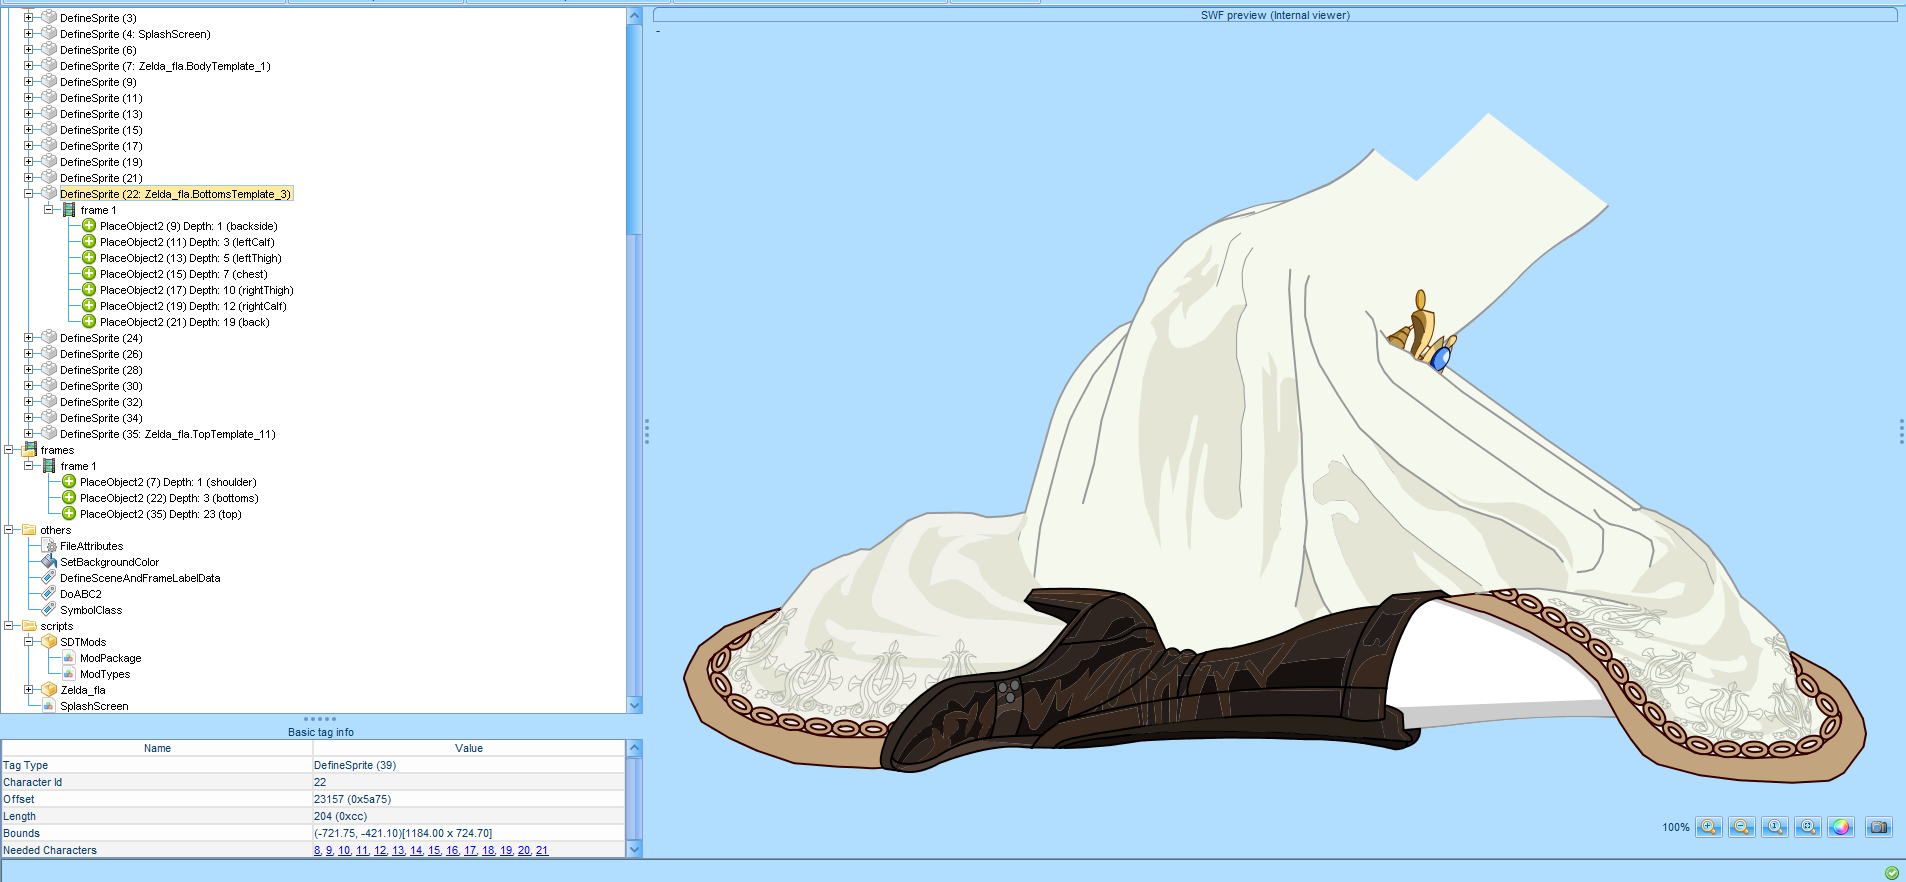
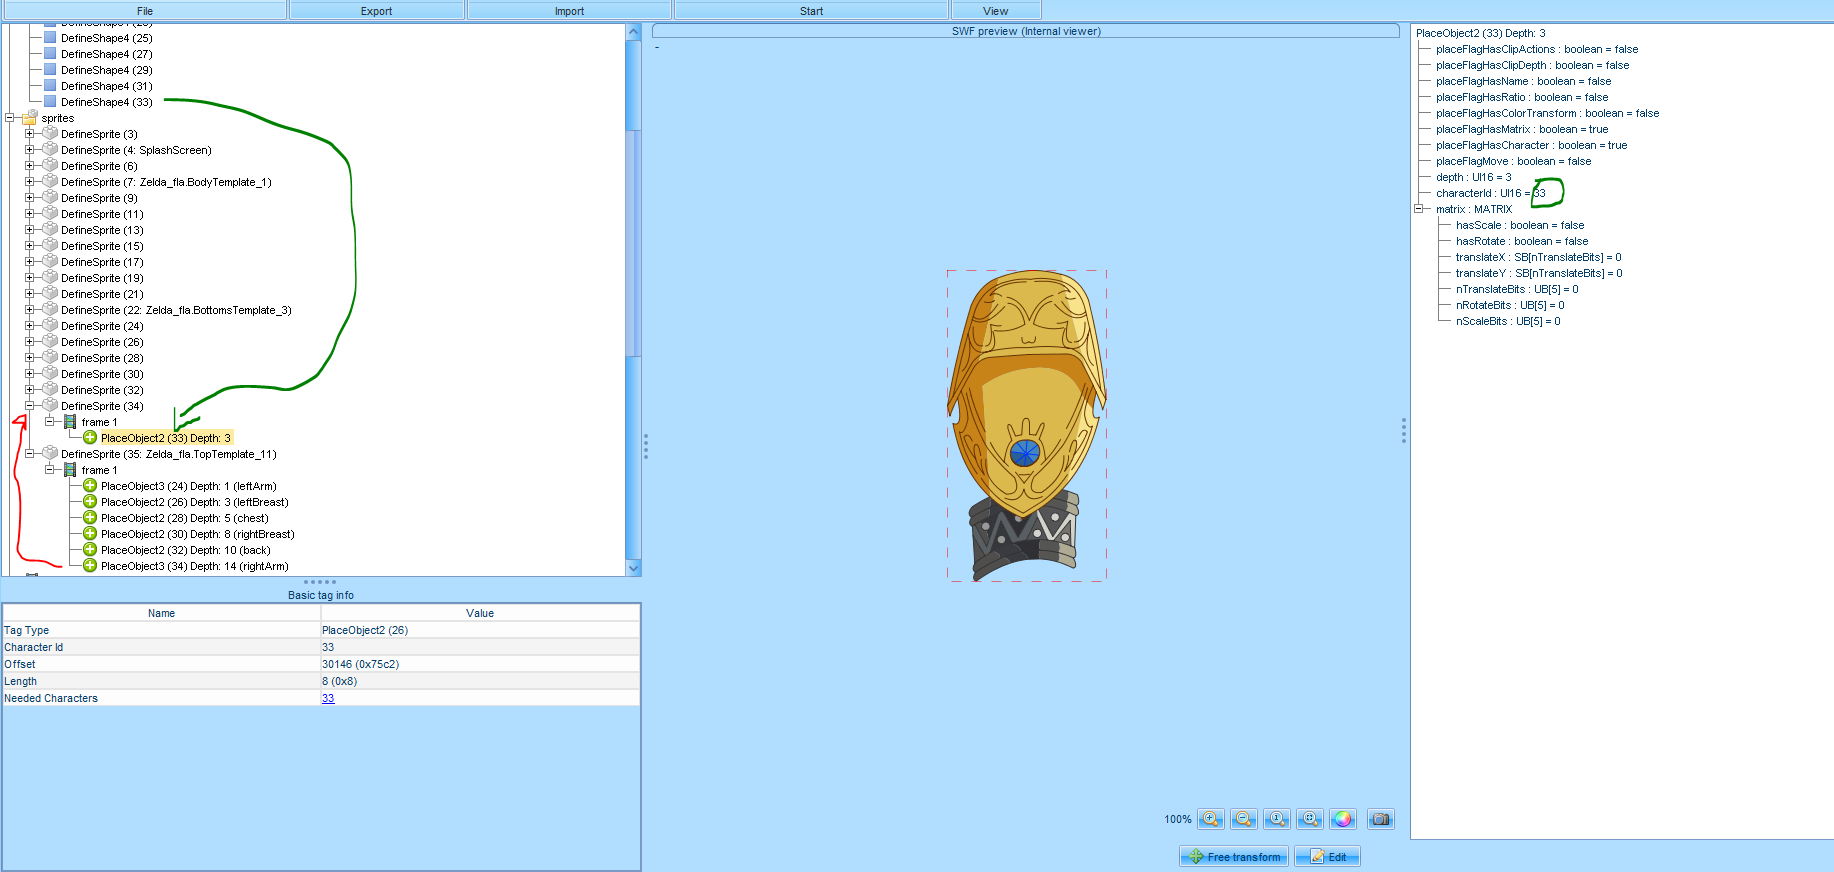
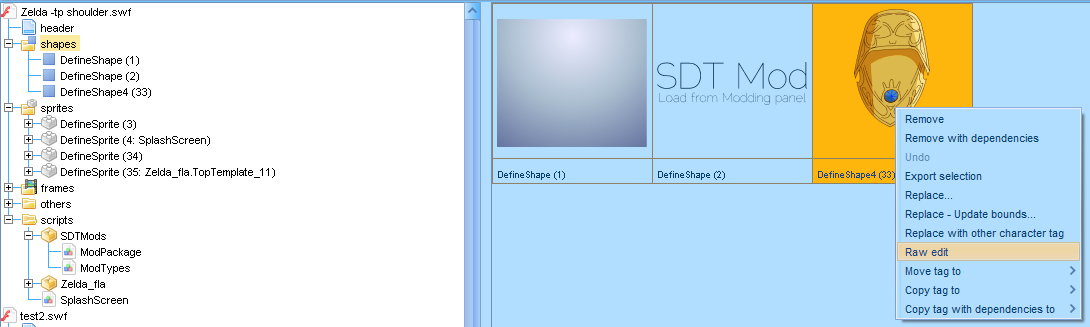
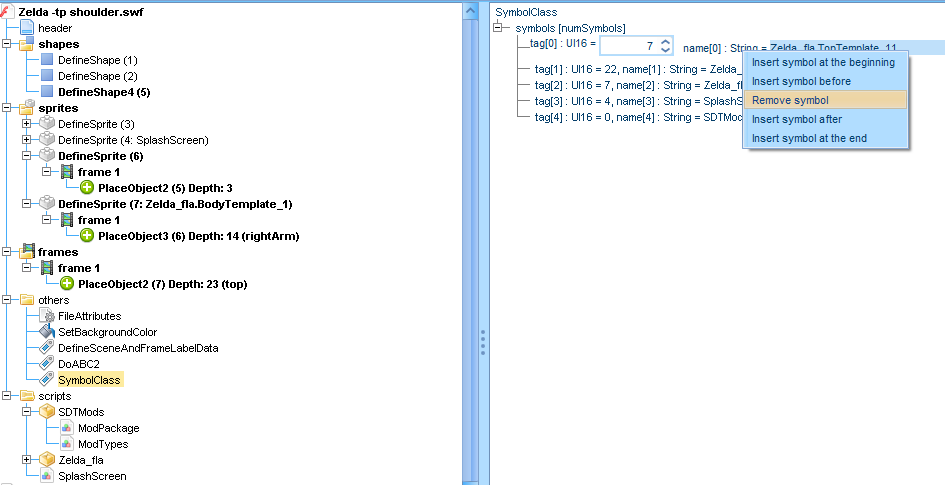
Go to SymbolClass for associate your sprite and your class
This picture explain how bound sprite.
The sprite 34 need the shape 33 (
green arrow). you can set the bound by the charcterId with the shapeId in the right (
green circle).
For overwrite the characterId you need to click on the button "Edit" in the bottom of the windows.
If you don't have the characterId display, check the "placeFlagHasCharacter" is set to "true" at the right.
In the same way you can bound sprite to sprite, just replace the shapeId by the spriteId. (
red arrow)
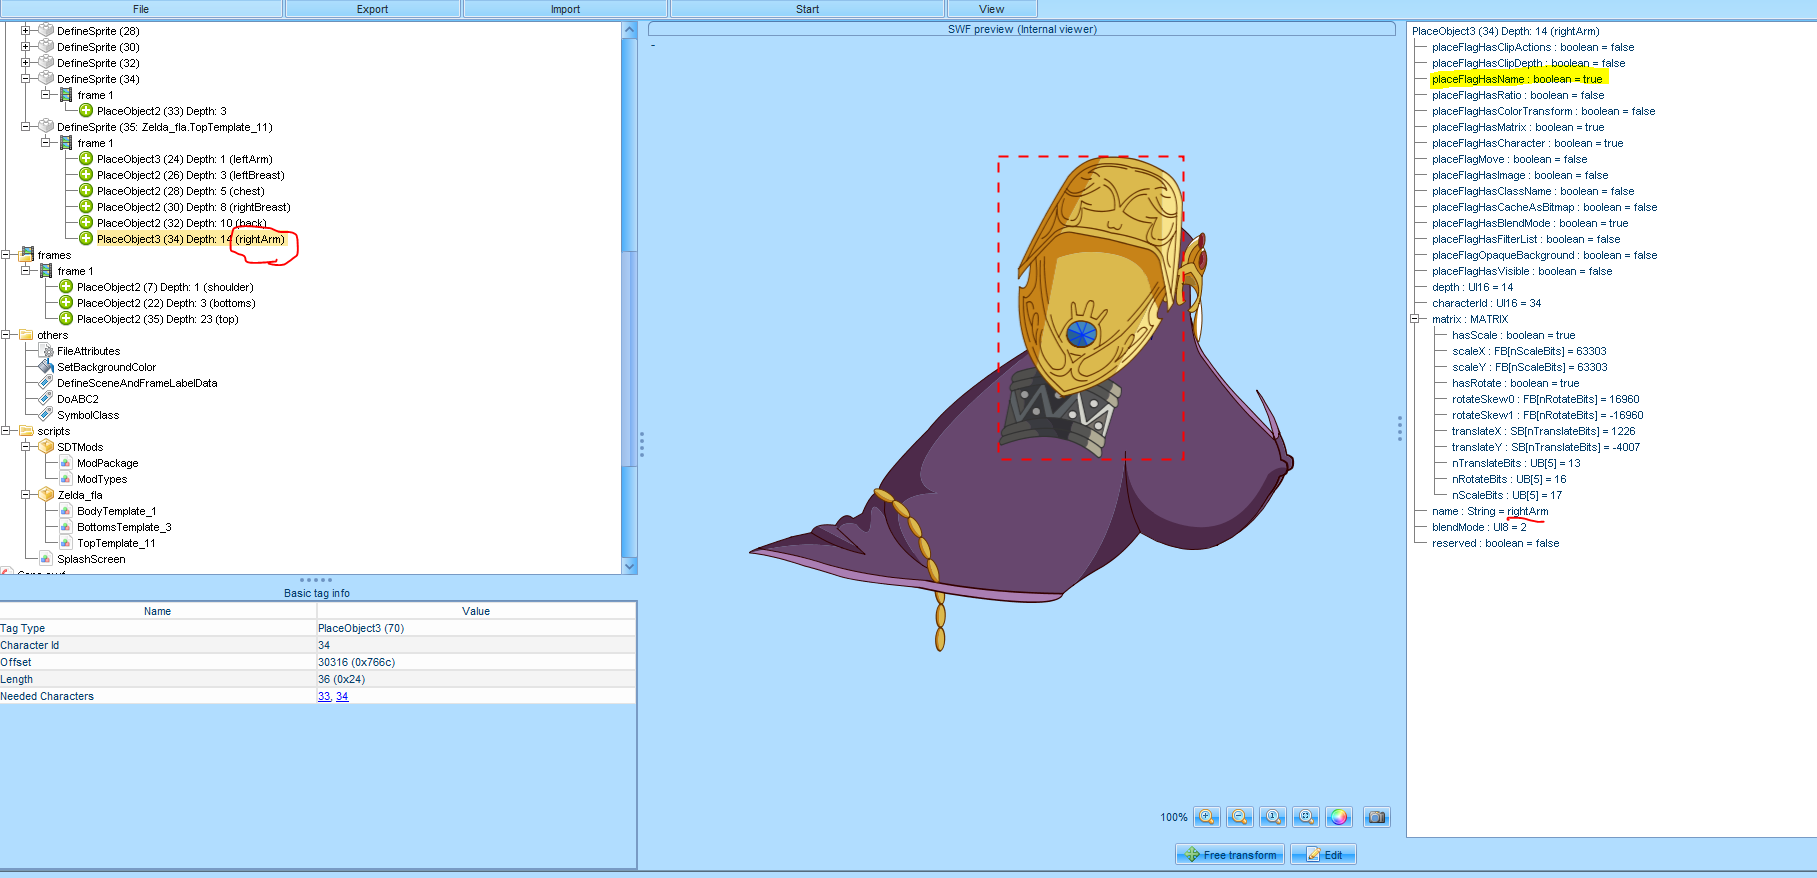
For rename object, overwrite the string on the right (
red underline)
if the " name : String=" don't appears check if your
flagHasName is set to true;