4dascience
Potential Patron
- Joined
- Nov 25, 2015
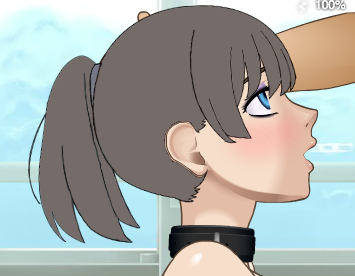
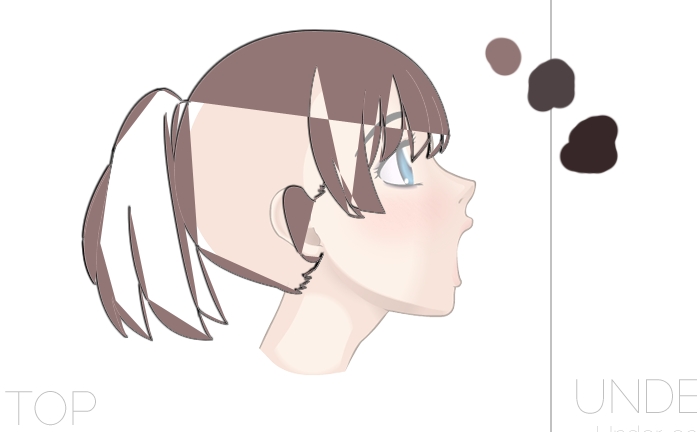
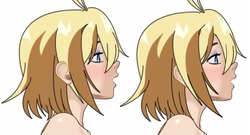
Well folks, here goes nothing. Starting to give making my own custom hairs a try. I first wanted to work on a few girls I liked, but figured I may as well give the Saekano girls a shot if something good comes out of it. I first decided to try and get Megumi down, not only cause she's best girl and a total cutie, but also because she has short, simple hair, and it couldn't hurt to start learning with that. I have a thing for ponytails, too, and I just so happened to run into a good reference of her wearing one. So here's what I got so far, in the actual game.

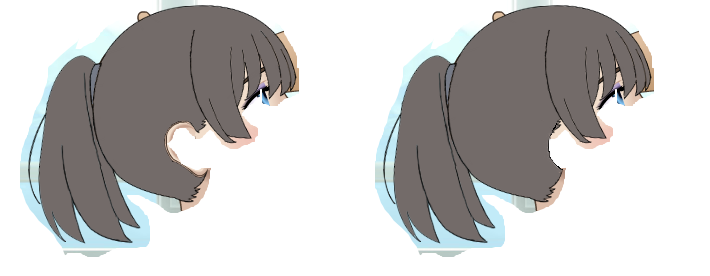
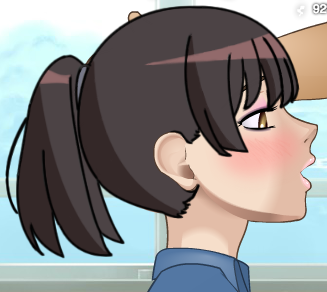
So there you go. I think the overall shape can get better with some polishing. I'm not worried about that really. My main concern is how I can get my lines from this
To this
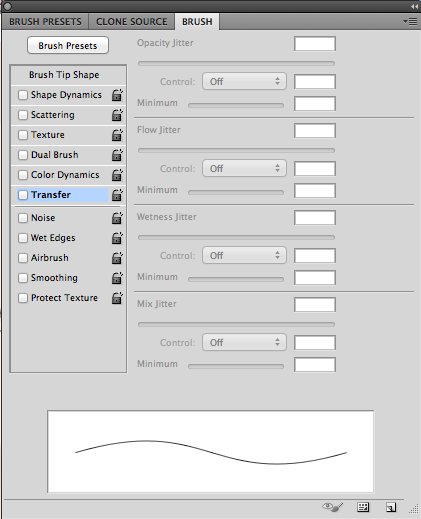
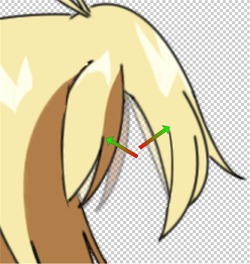
I'm having the hardest time with the brushes, and I don't know what's going on. On the first image, the bottom line is done with the pen tool, and stroke path. The hair . . . parts are otherwise done freehand because it just seems easier that way than fucking around with the pen tool. Then shading's gonna come up. But otherwise, I think I'm slowly getting there.
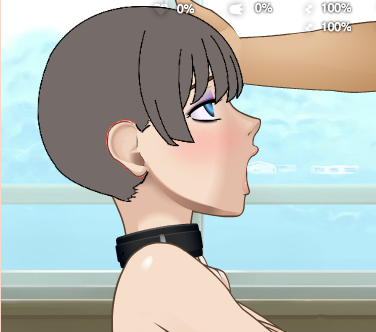
So there you go. I think the overall shape can get better with some polishing. I'm not worried about that really. My main concern is how I can get my lines from this

To this
I'm having the hardest time with the brushes, and I don't know what's going on. On the first image, the bottom line is done with the pen tool, and stroke path. The hair . . . parts are otherwise done freehand because it just seems easier that way than fucking around with the pen tool. Then shading's gonna come up. But otherwise, I think I'm slowly getting there.